No weekend would be complete without a bit of chocolate so, yesterday, my Granny and me decided to bake some of Tanya Burr's triple chocolate cookies (emphasis on the word 'triple' because I honestly don't think I have ever seen so much chocolate!!) I took the recipe from her book 'Love, Tanya,' which you can purchase HERE: http://www.amazon.co.uk/Love-Tanya-Burr/dp/1405921404/ref=sr_1_1?s=books&ie=UTF8&qid=1417610125&sr=1-
1&keywords=love+tanya but thought I would blog about it too as, not all of you may be able to get the book, and I thought it would be a fun thing to write about anyways!
INGREDIENTS (to make 10 cookies):
200g butter300g caster sugar
1 large egg
275g self-raising flour
75g cocoa powder
A little dash of milk (not always needed)
A large bar of white chocolate
A large bar of milk chocolate
A large bar of dark chocolate
3 Daim bars
The first you will need to do is make sure you have all your ingredients ready. You can weigh them all before you start or just as you go, its up to you. Taking a photo of your ingredients is totally optional...
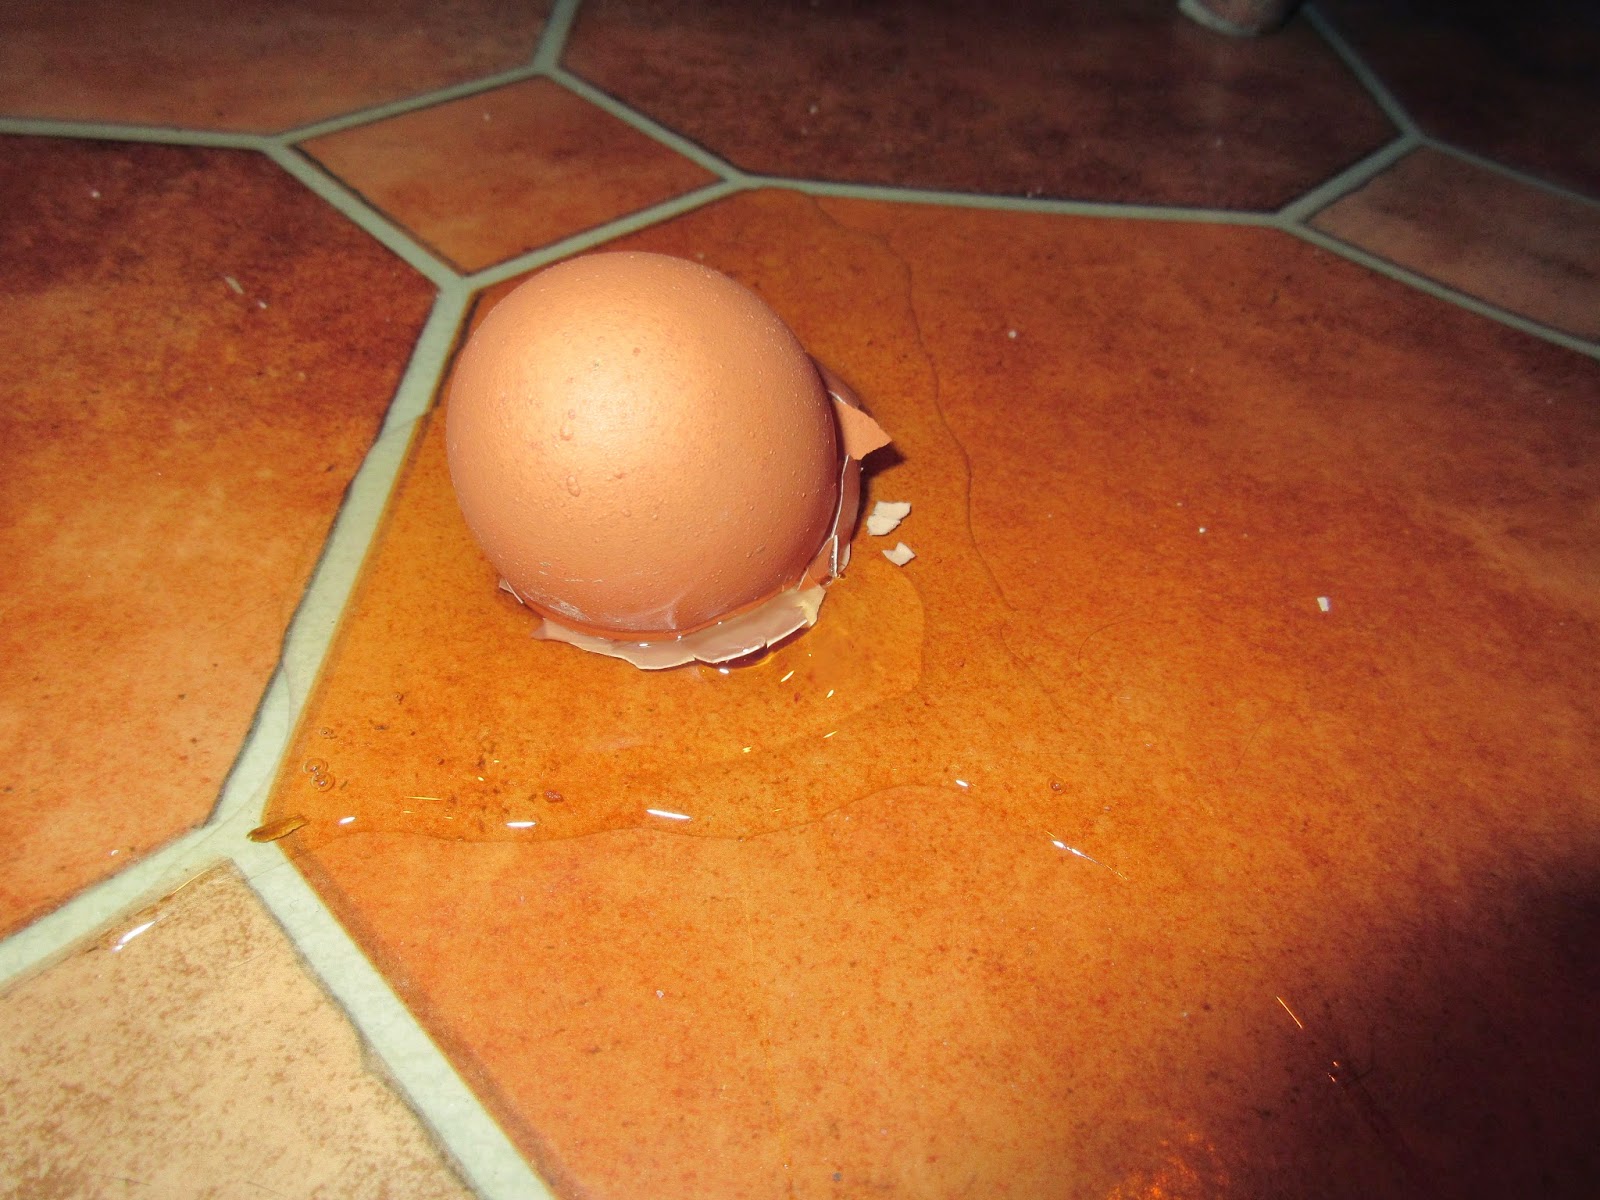
...just make sure your egg doesn't roll off the table onto the floor (if it does, make sure you get another)
Then, preheat your oven to 200 degrees Celsius
Measure out your sugar and butter
Then whizz them both together until it is a smooth consistency
Crack in your egg
and add in your dry ingredients (flour and cocoa powder)

Blend all of this together
You may need to add a splash of milk if your mixture seems too dry, which is what we did, however, it isn't compulsory so don't feel as though you have to add it!
Also, I must add that you MUST NOT EAT THE MIXTURE! It is really really bad! I repeat, DO NOT DO IT!!
Your mixture should then, hopefully, look something like this:
Now, its time for the exciting bit - adding all of the chocolate! I don't think I have ever used so much in all my life and I definitely got a few strange looks when I went to the shop to buy it all!
We used a large bar of Cadbury Dairy Milk, 2 medium Milky Bars, as we couldn't find a big one, and 4 small dark, Bournville bars as, once, again we couldn't find any large ones. This worked totally fine and all the weights we practically the same when added together so don't worry if you don't have the exact ingredients listed!
Simply break up all of the chocolate and throw it (not literally, unless your aim is impeccable) into your mixture. We had to break the chocolate into a separate, larger bowl and then transfer the mixture into there as we didn't quite anticipate how much there was going to be!
Don't forget those Daim bars as, in the words of Tanya, they give the cookies an incredible, unexpected toffee crunch, which I can agree with!
Make sure all of your chocolate is completely, well and truly mixed in, to ensure it will be spread throughout all of the cookies because, after all, you don't want any cookies that are totally chocolate-less!

You then want to line 2 trays with baking paper or foil
And now its time to get messy!! So, I definitely wouldn't recommend baking these cookies straight after painting your nails!! Use your hands to separate the mixture into 10 blobs onto your trays. It is definitely a lot easier to use your hands and, at the end of the day, its all good fun haha!
Also, don't worry if your blobs aren't all the same size as that just makes them look even better and adds a special home-made touch!
AAAAHHHH! SO MUCH MIXTURE!!
At this point, your chocolate blobs probably won't look like the most appetising things in the world, but stick with it haha!
You now want to pop your "cookies" into the oven for 11 minutes
It is definitely fun to watch them bake, however, it made me super hungry!
To make sure we left them in the oven for the perfect amount of time, my Granny and me use a piggy timer, who beeped once 11 minutes were up!
Once again, in the words of Tanya, 11 minutes is the perfect baking time. Once you take your cookies out of the oven, they will not look totally done and it will be very tempting to put them back in, but don't! If you do, they will be much harder once they are cool
Be sure to leave your cookies to cool for at least 30 minutes once you have taken them out of the oven. This 30 minutes will probably feel like a lifetime and make your tummy rumble, but it will definitely be worth the wait!
Once your cookies are cool, you can enjoy them to your heart's content! (obviously, don't go overboard as I don't want any of your being sick, although, it will probably be very tempting to just gobble them all up!)
I hope you guys all enjoyed this blog post! We had so much fun baking these cookies and it is definitely the perfect activity to do with friends and family! Thank you Tanya for this recipe, I will definitely be baking them again!
Be sure to tweet Tanya and me if you bake these cookies using the hashtag #LoveTanya (@TanyaBurr @EmilyBashforth)
Thank you for reading and HAPPY BAKING!! <3
Love, Emily :) xx


No comments:
Post a Comment